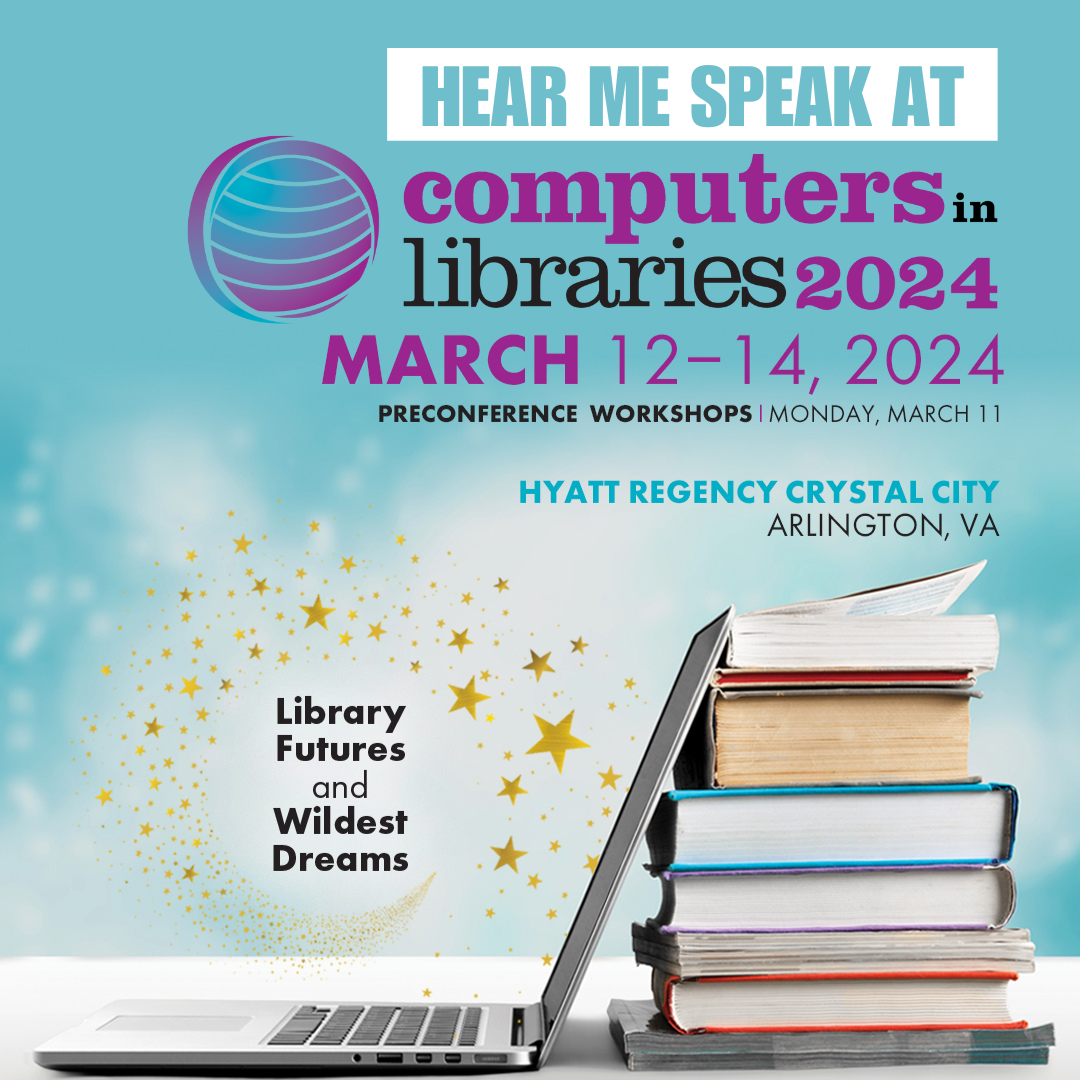
I’m getting my presentations in order for the upcoming Computers in Libraries 2024 conference, and hope to see some of you there!
Like I often do, I’m giving a couple of talks at the conference. Here’s when I’m speaking and what I’m speaking about:
- Monday: Emerging Trends in Libraries pre-conference workshop.
- Tuesday: Recording studios, video production studios, etc. in libraries
- Tuesday: A couple of fun & creative AI projects my library has done
- Wednesday: Tech tools – web-based services and tools that help us do our jobs better
- Wednesday: Social media update – this is a fast and furious cyber tour talk!
If you’re planning to come, I’d love to see you at one of my talks! If you’re not registered yet … here’s the link to take care of that!
See you in March!

 Awhile ago, I wrote a post titled
 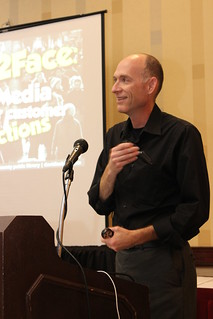 I do a lot of public speaking – at library conferences and for my library in our community. I like it and think it’s sorta fun.